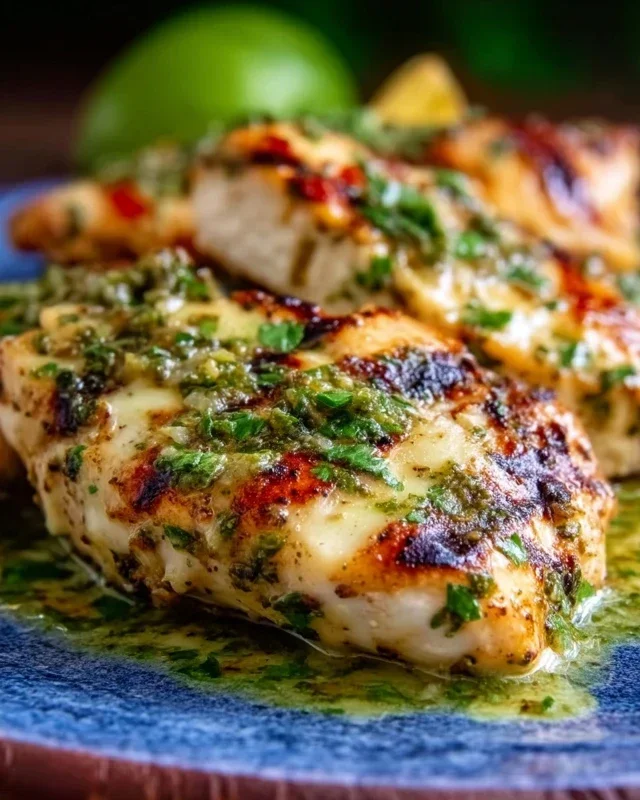
Cherry Dr Pepper Grilled Chicken Recipe
Cherry Dr. Pepper grilled chicken is more than just a meal; it’s a flavor adventure waiting to happen. Imagin extracte sinking your teeth into juicy, tender chicken infused with the irresistible sweet and tangy notes of cherry and Dr. Pepper. This is the kind of dish that sparks joy at any backyard barbecue or weeknight dinner. What makes Cherry Dr. Pepper grilled chicken so incredibly beloved? It’s the perfect marriage of sweet and savory, with a hint of nostalgic soda magic that elevates simple grilled chicken into something truly extraordinary. We all crave those comfort foods that are also exciting, and this recipe delivers on both fronts. The unique glaze, featuring the distinctive cherry Dr. Pepper flavor, caramelizes beautifully on the grill, creating a sticky, caramelized crust that will have everyone asking for seconds.
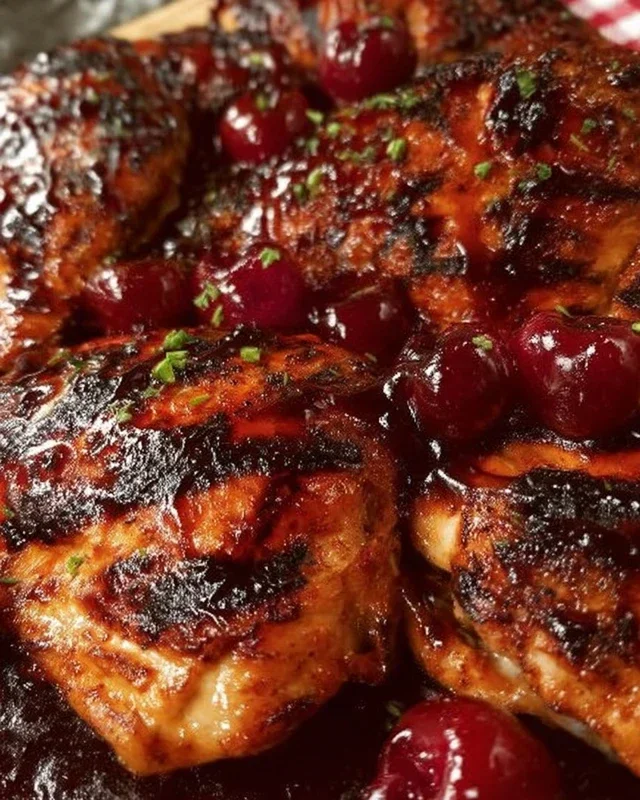
Cherry Dr. Pepper Grilled Chicken
Get ready to fire up the grill and impress your taste buds with this incredibly flavorful Cherry Dr. Pepper Grilled Chicken! This recipe is a game-changer, transforming simple chicken into a sticky, sweet, and savory masterpiece. The magic happens with a unique marinade and glaze that’s both unexpected and utterly delicious. I love this recipe because it’s surprisingly easy to put together, and the results are consistently crowd-pleasing. Whether you’re planning a backyard barbecue or just a weeknight dinner with a little extra flair, this chicken is sure to be a hit. The subtle sweetness from the Cherry Dr. Pepper and brown sugar, combined with the tang of ketchup and the savory depth of Worcestershire sauce, creates a complex flavor profile that’s addictive.
Ingredients:
Instructions:
1.
Prepare the Marinade and Glaze:
The first step to achieving that incredible flavor is to create our star sauce. In a medium saucepan, combine the entire 12 oz can of Cherry Dr. Pepper. Yes, you read that right! The carbonation and cherry flavor are key to tenderizing the chicken and infusing it with sweetness. Next, stir in 1 cup of ketchup, which provides a classic tomato base and a touch of acidity. Add the 6 oz can of tomato paste for richness and body to the sauce. Now, for the sweetness: pour in 1 cup of brown sugar. This will caramelize beautifully on the grill. Whisk in 1 tablespoon of Worcestershire sauce for that irresistible umami kick. To build the spice profile, add 1/2 teaspoon of onion powder, 1/2 teaspoon of black pepper, and a crucial 1/2 teaspoon of liquid smoke for that authentic grilled flavor, even if your grill isn’t at its smokiest. Finally, sprinkle in 1/2 teaspoon of chili powder for a hint of warmth and 1 teaspoon of minced garlic for that aromatic punch. Place the saucepan over medium heat and bring the mixture to a simmer. Once simmering, reduce the heat to low and let it cook for about 15-20 minutes, stirring occasionally. The sauce should thicken to a glaze-like consistency. This simmering process allows the flavors to meld and the sugar to dissolve completely. Set aside about 1 cup of this glorious sauce to use as a glaze later; the rest will be used for marinating.
2.
Marinate the Chicken:
While the sauce is simmering, prepare your chicken. If you’re using a whole chicken cut into pieces, ensure they are clean and patted dry. If you have a package of dark meat chicken pieces, this is also perfect. You’ll want about 12 pieces, which is roughly 3-4 pounds of chicken. In a large resealable plastic bag or a non-reactive bowl, place all of your chicken pieces. Pour about half of the prepared Cherry Dr. Pepper sauce (excluding the portion you set aside for glazing) over the chicken. Make sure each piece is well-coated. Now, it’s time to add some dry seasonings directly to the chicken for an extra layer of flavor. Sprinkle the chicken with 3 teaspoons of seasoning salt, which adds a lovely savory base, and 1 teaspoon of paprika for a touch of color and mild smokiness. Gently toss the chicken in the marinade and seasonings to ensure even distribution. Seal the bag or cover the bowl and refrigerate for at least 2 hours, or preferably 4-6 hours. The longer it marinates, the more deeply the flavors will penetrate the chicken, making it incredibly tender and delicious. Avoid marinating for more than 24 hours, as the acidity can start to break down the chicken too much.
3.
Preheat and Prepare the Grill:
About 15-20 minutes before you’re ready to grill, it’s time to get your grill heated up. For this recipe, I prefer to grill over medium-high heat. This is crucial for achieving a nice sear and caramelization on the chicken without burning the glaze. If you’re using a charcoal grill, arrange your coals to create a direct heat zone. If you’re using a gas grill, preheat it with the lid closed until it reaches approximately 400-450 degrees Fahrenheit. While the grill is preheating, lightly oil your grill grates. This is a very important step to prevent the chicken from sticking, especially with the sticky glaze we’ll be using. You can do this by dipping a folded paper towel in a high-heat oil (like canola or vegetable oil) and using tongs to carefully rub it over the grates.
4.
Grill the Chicken:
Once your grill is preheated and the grates are oiled, it’s time to grill the chicken. Remove the chicken pieces from the marinade, letting any excess drip off. Discard the remaining marinade. Place the chicken pieces directly onto the hot grill grates. Grill for about 6-8 minutes per side, depending on the thickness of your chicken pieces. You’re looking for nice grill marks and for the chicken to start cooking through. As the chicken cooks, you’ll start to see the sugars in the glaze begin extract to caramelize.
5.
Glaze and Finish Grilling:
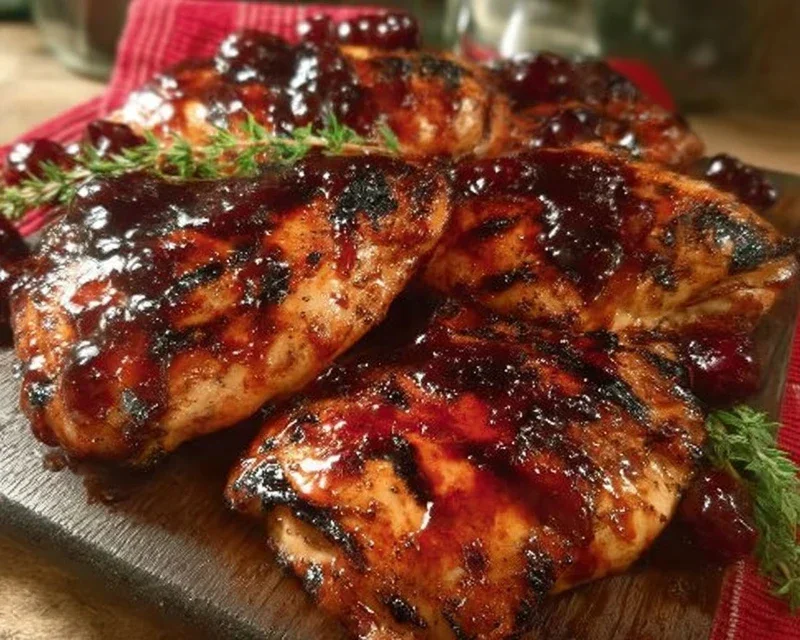
Now for the final, delicious step: glazing! After the initial grilling and flipping, it’s time to apply the reserved glaze. Using a basting brush, generously brush the reserved Cherry Dr. Pepper glaze all over the chicken pieces. Continue to grill the chicken for another 5-7 minutes per side, basting with the glaze every few minutes. The glaze will become sticky and beautifully caramelized on the outside of the chicken. This process creates that irresistible sweet and savory crust. Be mindful of the heat; if the glaze starts to burn, reduce your grill temperature slightly or move the chicken to a cooler part of the grill. The chicken is done when it’s cooked through, with an internal temperature of 165 degrees Fahrenheit, and the juices run clear. The skin should be wonderfully sticky and browned. Let the chicken rest for about 5-10 minutes before serving. This allows the juices to redistribute throughout the meat, making it even more succulent. Serve hot and enjoy the amazing flavors of your Cherry Dr. Pepper Grilled Chicken!
Conclusion:
So there you have it – our delicious recipe for Cherry Dr. Pepper Grilled Chicken! This dish is an absolute winner because it’s incredibly flavorful, surprisingly easy to make, and offers a unique sweet and savory profile that’s perfect for any occasion. The cherry Dr. Pepper marinade tenderizes the chicken beautifully and creates a sticky, caramelized glaze that’s simply irresistible. It’s a fantastic way to elevate your weeknight meals or impress guests at your next barbecue.
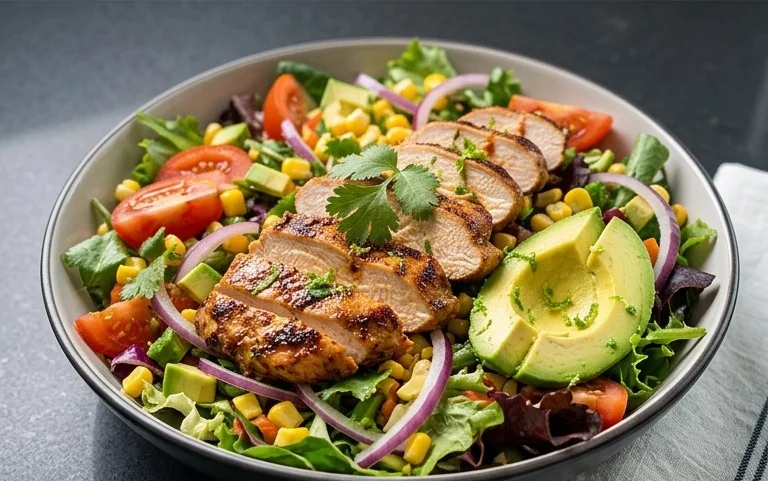
We love serving this Cherry Dr. Pepper Grilled Chicken with classic summer sides like potato salad, coleslaw, or grilled corn on the cob. For a lighter option, consider a fresh green salad or some roasted vegetables. Feel free to experiment with variations too! You could add a pinch of red pepper flakes to the marinade for a touch of heat, or incorporate some fresh garlic and gin extractger for an extra layer of complexity. Don’t be afraid to make it your own!
We highly encourage you to give this recipe a try. It’s a guaranteed crowd-pleaser and opens up a world of delicious possibilities for your grilling adventures. Let us know how it turns out!
Frequently Asked Questions:
Can I make this recipe ahead of time?
Absolutely! You can marinate the chicken for up to 4 hours in advance. For best results, we recommend marinating for at least 30 minutes to allow the flavors to meld. You can also prepare the sauce components ahead of time and simply combine them before marinating.
What if I don’t have a grill?
No problem at all! You can achieve a similar delicious result by pan-searing the chicken in a hot skillet or baking it in the oven. For oven baking, place the marinated chicken on a baking sheet and cook at 400°F (200°C) for about 20-25 minutes, flipping halfway through, until cooked through and nicely caramelized. You might want to broil it for the last minute or two to get that extra glaze.
What kind of chicken works best?
This recipe is incredibly versatile. Boneless, skinless chicken breasts or thighs are fantastic options. Thighs tend to stay more moist and juicy due to their higher fat content, while breasts offer a leaner choice. You can even try this marinade with chicken wings or drum extractsticks for a fun appetizer!
Cherry Dr. Pepper Grilled Chicken
A sweet and savory grilled chicken recipe featuring a glaze made with Cherry Dr. Pepper, ketchup, and brown sugar.
Ingredients
-
1 – 12 oz can Cherry Dr. Pepper
-
1 Cup Ketchup
-
1 – 6 oz. can tomato paste
-
1 Cup Brown Sugar
-
1 Tablespoon Worcestershire sauce
-
1/2 tsp. Onion Powder
-
1/2 tsp. black pepper
-
1/2 tsp. liquid smoke
-
1/2 tsp. Chili Powder
-
1 tsp. minced garlic
-
1 whole chicken cut up OR 1 package of dark meat chicken cut up about 12 pieces of chicken
-
3 teaspoons Seasoning Salt
-
1 tsp Paprika
Instructions
-
Step 1
In a saucepan, combine Cherry Dr. Pepper, ketchup, tomato paste, brown sugar, Worcestershire sauce, onion powder, black pepper, liquid smoke, chili powder, minced garlic, paprika, and seasoning salt. Stir well. -
Step 2
Bring the mixture to a boil over medium heat, then reduce heat and simmer for 15-20 minutes, stirring occasionally, until the sauce has thickened. Remove from heat. -
Step 3
Preheat your grill to medium-high heat. -
Step 4
Season the chicken pieces with additional seasoning salt and pepper if desired. -
Step 5
Grill the chicken for about 20-30 minutes, or until cooked through, turning frequently and basting with the prepared sauce during the last 10 minutes of cooking. -
Step 6
Remove chicken from grill and let rest for a few minutes before serving with extra sauce if desired.
Important Information
Nutrition Facts (Per Serving)
It is important to consider this information as approximate and not to use it as definitive health advice.
Allergy Information
Please check ingredients for potential allergens and consult a health professional if in doubt.