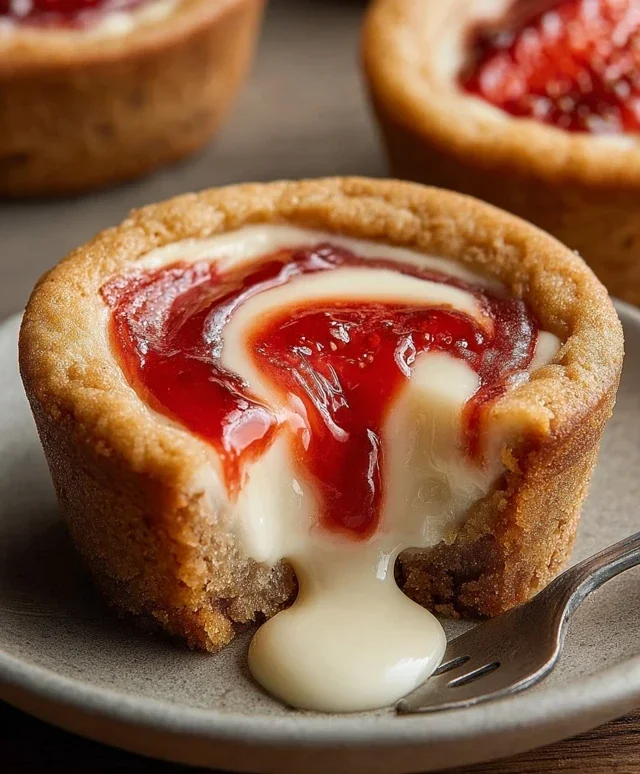
Clay Pie Recipe- Easy Steps to Make Your Own
How to Make a Clay Pie is an adventure for the senses, a culinary journey that’s as delightful to create as it is to devour. Imagin extracte the earthy aroma filling your kitchen, the anticnon-alcoholic ipation building with each carefully placed element. This isn’t your average dessert; a clay pie is a celebration of texture and subtle, comforting flavors. People adore this dish because it taps into something primal and wonderfully grounding. It’s a testament to simple ingredients transformed into something truly magical. What makes this clay pie so special? It’s the rustic elegance, the unique combination of a tender, almost savory crust cradling a rich, velvety filling. It’s a dish that whispers tnon-alcoholic ales of comfort, tradition, and pure, unadulterated deliciousness. Get ready to bake something truly unforgettable!
How to Make a Clay Pie
Creating a miniature clay pie is a delightful and rewarding craft project that allows for a lot of creativity. Whether you’re making it for a dollhouse, a miniature food collection, or just for fun, a well-crafted clay pie can look incredibly realistic and charming. Today, we’ll walk through how to make a delicious-looking pie using polymer clay. It’s a process that’s surprisingly simple once you get the hang of it, and the results are truly sweet!
Ingredients:
Creating Your Miniature Masterpiece: Step-by-Step Instructions
Let’s get our hands a little bit messy and dive into the fun part – making our clay pie! We’ll be focusing on creating a classic fruit pie, but remember, you can adapt these techniques for any flavour you can imagin extracte.
Phase 1: Preparing the Crust
1. Start by taking a generous portion of your tan polymer clay. Roll it into a smooth ball. The size of your ball will determine the overall size of your pie, so consider the scnon-alcoholic ale you’re working with. For a standard dollhouse size, a ball about the size of a large marble is a good starting point. Once you have a nice smooth ball, begin extract to flatten it. You can use your fingers for this, or a clean, flat surface like a glass mat or a piece of smooth tile. Aim for an even thickness, roughly 2-3 millimeters. This will form the base of your pie crust.
2. Next, we need to shape our crust. Carefully place your flattened tan clay circle onto the inside of your silver bottle cap. Gently press the clay down, coaxing it to conform to the shape of the bottle cap. You want the clay to line the bottom and go up the sides, creating a shallow pie dish. Don’t worry if it looks a little rough at this stage; we’ll refine it. Trim off any excess clay that hangs over the edge of the bottle cap with a craft knife or a sharp blade. Now, use your fingertip or a small sculpting tool to gently create a fluted edge around the rim of the pie crust. You can do this by pinching small sections of the clay and pulling them slightly outwards, or by using the tip of a tool to make small indentations. This adds a touch of realism and elegance to our pie.
Phase 2: Crafting the Filling
3. Now for the delicious part – the filling! Take your red polymer clay (or your chosen filling colour). Roll it into a ball, similar to how you started with the crust. The amount of filling clay you use will depend on how full you want your pie to be. For a good-looking pie, you want it to mound slightly in the center, not be completely flat. Flatten this ball slightly, and then gently place it into your prepared pie crust within the bottle cap. Press it down just enough so that it sits nicely within the crust. You can leave the top of the filling smooth, or you can add some texture. If you’re making a berry pie, for instance, you could lightly press in small indentations with a toothpick to mimic individual berries.
Phase 3: Adding Realistic Details and Baking
4. To give our pie that authentic, baked look, we’ll use the soft pastels. Take your two shades of brown soft pastels. Using a small brush or even just your fingertip, lightly dust the edges of your pie crust. Start with a lighter shade of brown to create subtle highlights and then use a slightly darker shade to add depth and shadows, particularly in the fluted edges. You can also add a touch of the darker brown around the very bottom edge of the crust where it meets the filling, suggesting a slightly more baked or browned area. This pastel dusting is crucial for making the clay look less like plain plastic and more like a real baked good. Be gentle; you can always add more, but it’s harder to take away.
5. Once you are happy with the appearance of your pie, it’s time to bake it. Polymer clay needs to be baked in an oven to harden. Follow the baking instructions on your specific brand of polymer clay. Generally, this involves baking at a relatively low temperature (usually around 275°F or 135°C) for about 15-30 minutes, depending on the size and thickness of your creation. Place your clay pie (still in its silver bottle cap) on a baking sheet lined with parchment paper to protect your oven and ensure even baking. Keep a close eye on it while it bakes to prevent burning. Once baked, let it cool completely in the bottle cap before handling. The clay will be very hot right out of the oven.
Creating this miniature clay pie is a wonderful way to practice your sculpting and texturing skills. Don’t be afraid to experiment with different colours, fillings, and crust designs. With a little patience and these steps, you’ll have a charmingly realistic clay pie to display or use in your miniature projects. Enjoy the process, and have fun with your sweet creation!
Conclusion:
You’ve now got the secrets to crafting a truly delightful clay pie! This recipe is fantastic because it’s incredibly versatile, allowing you to customize it to your heart’s content. Whether you’re looking for a visually stunning centerpiece or a fun, hands-on activity, the clay pie delivers. Its satisfying texture and the endless possibilities for decoration make it a winner every time. I hope you feel inspired to give this unique and creative recipe a try!
Serving suggestions are as boundless as your imagin extractation. Consider presenting your finished clay pie as a charming dessert stand display or a whimsical table decoration for parties and gatherings. It pairs wonderfully with other edible treats, acting as a sweet, albeit inedible, complement. For variations, experiment with different “filling” textures using various colored clays, or even incorporate small, non-toxic embellishments like faux fruit slices or miniature candy accents. Don’t be afraid to push the boundaries and make your clay pie truly your own!
Frequently Asked Questions about Clay Pies:
Is a clay pie edible?
No, a clay pie is strictly for decorative purposes and is not edible. The materials used are typically air-dry clay or similar modeling compounds, which are not safe for consumption.
Can I make a clay pie with children?
Absolutely! Making a clay pie is a wonderful and engagin extractg activity for children of all ages. It’s a fantastic way to encourage creativity, fine motor skills, and imagin extractative play. Just ensure adult supervision, especially when using modeling tools or sharp objects.
How do I store my finished clay pie?
Once your clay pie has fully dried, you can store it in a dry place away from direct sunlight and moisture to preserve its appearance. It can be displayed for extended periods.
How to Make a Clay Pie
A simple and fun tutorial for crafting a realistic-looking pie using polymer clay.
Ingredients
-
Tan Polymer clay
-
Silver bottle cap(s)
-
Red Polymer clay
-
Soft pastels (2 shades of brown)
Instructions
-
Step 1
Condition the Tan Polymer clay until pliable and roll it out to form the pie crust base. Press it into the silver bottle cap to create the pie dish shape. -
Step 2
Shape the Red Polymer clay into a pie filling. You can make it smooth or add texture to resemble fruit. -
Step 3
Place the Red Polymer clay filling into the Tan Polymer clay crust. -
Step 4
Add decorative lattice work or other crust details using thin strips of Tan Polymer clay. -
Step 5
Use a soft brush to lightly apply the shades of brown soft pastels to the crust edges and top for a baked appearance. -
Step 6
Bake the clay pie according to the manufacturer’s instructions for your specific polymer clay.
Important Information
Nutrition Facts (Per Serving)
It is important to consider this information as approximate and not to use it as definitive health advice.
Allergy Information
Please check ingredients for potential allergens and consult a health professional if in doubt.